Concrete Crack Repair in Spring, TX: When to DIY vs. Call a Pro
Not every concrete crack in Spring, TX needs a professional. A hairline crack along a control joint costs a tube of caulk and 20 minutes. The same crack after two years of water infiltration and seasonal clay soil movement costs $300–$600 in professional repair — and the same crack after five years of clay void formation beneath it costs a structural conversation.
The question isn’t just “can I do this myself” — it’s “which cracks are in the DIY category and which have moved beyond it.” This guide helps Spring homeowners make that call correctly.
In this post, we cover: how to read concrete crack types and what each tells you about severity, DIY repair approaches that actually work for appropriate cracks, signs that a crack has moved beyond DIY territory, and what professional concrete crack repair involves and costs in Spring, TX.
Not Sure Whether Your Spring Cracks Need Professional Repair?
Spring Concrete Pros provides free assessments — we'll tell you honestly if you can handle it yourself. Call (888) 376-0955.
Reading Concrete Cracks: What They Tell You
Before deciding repair approach, understand what type of crack you’re dealing with. Not all cracks mean the same thing:
Hairline cracks (less than 1/16 inch wide): These are surface-tension cracks that appear in most concrete eventually. They’re extremely common in Spring’s hot, humid climate where temperature and moisture variation is significant. Hairline cracks along control joints are expected — they mean the joint did its job. Hairline cracks between joints are also common and typically not structural. DIY repair is appropriate.
Moderate cracks (1/16 to 1/4 inch wide): These are the gray zone. On their own, moderate cracks in a control joint can be sealed by a homeowner. The question is whether water has been running through the crack and what’s happened beneath the concrete. Check for vertical displacement (is one side of the crack higher than the other?), and listen for hollow sound when tapping adjacent to the crack (indicates void beneath the slab). If neither is present, DIY sealing is reasonable. If either is present, professional assessment is warranted.
Wide cracks (greater than 1/4 inch): Cracks this wide have typically allowed water infiltration that has eroded the subbase to some degree, especially in Spring’s Beaumont clay environment where water intrusion through cracks accelerates clay erosion. Professional repair recommended.
Cracks with vertical displacement: One side higher than the other means the slab sections on either side of the crack have moved differentially. This indicates subgrade movement — the clay soil has settled differently under each section. DIY surface sealing of these cracks is cosmetic, not structural. Professional assessment recommended.
Random cracking not following control joints: Concrete cracking that doesn’t follow the control joint pattern indicates the slab has experienced stress in unexpected directions. This can be from severe subgrade movement, inadequate reinforcement, or expansion issues. Professional assessment warranted.
DIY Concrete Crack Repair: What Works
For appropriate cracks — hairline to narrow moderate, along control joints, no displacement, no void beneath — DIY repair is reasonable with the right materials:
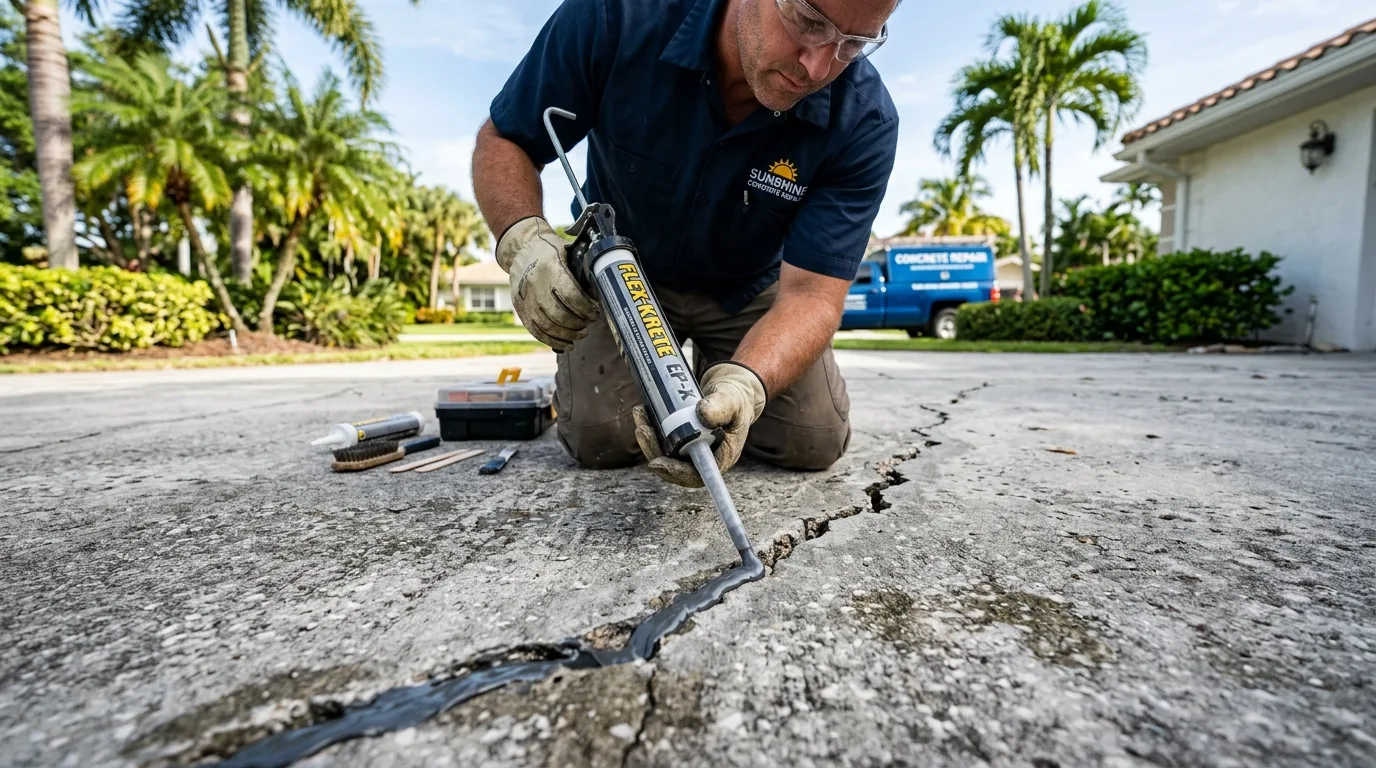
Polyurethane caulk for control joints: Flexible polyurethane sealant (DAP, Sikaflex, or equivalent one-part polyurethane formulations) is appropriate for sealing control joints and narrow cracks in driveways and patios. The flexibility accommodates the minor seasonal movement that will always occur in Spring’s clay soil environment without cracking the repair itself.
Prep: clean the crack with compressed air or a stiff brush. Remove all dirt, debris, and loose material. Allow to dry completely before applying sealant. Apply with a caulk gun, fill slightly below the surface, and tool smooth. Cure time: 24–48 hours before traffic. Product selection note: use a product rated for concrete expansion joints, not a general-purpose interior caulk.
Crack filler for wider gaps: For cracks between 1/8 and 1/4 inch, concrete crack filler (Quikrete Concrete Crack Seal or similar flexible polymer products) provides better fill volume than standard caulk. These products are slightly thicker and fill the crack cross-section more completely.
Hydraulic cement for active water seeps: If a crack is actively allowing water through during rain events, hydraulic cement (sets by expanding against water pressure) can stop the active seepage before a longer-term repair is applied. Use as a first step, not the final repair.
When to Call a Professional
These conditions take a concrete crack beyond DIY territory:
Vertical displacement at the crack: As noted above, differential movement between slab sections needs professional evaluation to determine the cause before repair is appropriate. Sealing the surface without addressing the subgrade issue is temporary at best.
Hollow sound adjacent to crack: Tapping the concrete surface with a metal object near the crack produces a hollow sound when there’s a void beneath the slab. The void is the real problem; the crack is how you found it. Professional assessment needed.
Active growing crack: Take a photo of the crack today and compare in 3 months. A crack that has measurably widened is active — the cause is still operating. Sealing an active crack will just re-crack the repair.
Crack pattern across multiple sections: Cracking that follows a consistent direction across multiple slab sections (not following the control joints) indicates a systematic subgrade issue rather than isolated surface cracking. This needs professional diagnosis.
Crack with water running beneath the slab: Pour a cup of water on the crack during dry weather. If it disappears into the crack rather than staying on the surface, water has been infiltrating and may have eroded the base beneath. Professional assessment.
What Professional Crack Repair Involves and Costs in Spring, TX
Professional concrete crack repair in Spring uses several techniques depending on crack type and cause:
Polyurethane foam or epoxy injection: For structural cracks where restoring monolithic slab behavior is desired, low-viscosity epoxy or polyurethane foam is injected under pressure to fill the full crack depth. This bonds the two sides of the crack together (epoxy) or fills the void with flexible foam (polyurethane). More effective than surface sealing for cracks with some depth.
Crack routing and sealing: Wider cracks benefit from routing (cutting a uniform channel along the crack with an angle grinder) before sealing. The routed channel provides better sealant adhesion than the irregular crack edges and allows the flexible sealant to move with the slab without tearing.
Sub-slab stabilization: When void formation beneath the crack is confirmed, polyurethane foam injection through small drilled holes fills the void and restores slab support before surface repair. This is the component most DIY repairs skip — and the reason professional repairs of this type last while DIY repairs reopen.
Costs in Spring, TX:
- Crack filling/sealing (isolated cracks): $150–$400 depending on length and access
- Epoxy injection (structural crack bonding): $250–$600 per crack location
- Crack routing and sealing: $3–$6 per linear foot
- Sub-slab foam stabilization: $800–$2,500 depending on extent of void
Frequently Asked Questions
How do I know if my concrete crack is structural or just cosmetic?
The indicators of structural cracking: vertical displacement between the two sides of the crack, hollow sound when tapping adjacent concrete, active widening over time, or a crack pattern that doesn’t follow control joints. Surface hairline cracks along control joints with no displacement, no hollow sound, and no change over time are typically cosmetic. When in doubt, a professional assessment is inexpensive relative to the cost of misdiagnosing a structural crack as cosmetic.
Can I use self-leveling sealant for concrete cracks on a sloped driveway?
Self-leveling sealants are designed for horizontal joints in flat areas. For driveways with any slope, use a non-sag polyurethane sealant that stays where you put it rather than running down the slope before curing.
Does DIY crack repair affect my concrete’s lifespan?
For appropriate cracks (hairline, no displacement, no void), proper DIY sealing extends the concrete’s life by preventing water infiltration and subbase erosion. The key is using the right material (flexible polyurethane, not rigid cement-based products) and reapplying when the sealant shows wear — typically every 3–5 years in Spring’s climate.
Spring Concrete Pros — Crack Assessment and Professional Repair
Free assessment — we'll tell you honestly what each crack needs. (888) 376-0955 serving Spring and Harris County.
Related reading: